We will show you how to set up a MetaMask wallet for the Avalanche network to manage AVAX and Avalanche tokens and access DApps.
MetaMask is built for the Ethereum, but since the Avalanche is compatible with EVM (Ethereum Virtual Machine) and Solidity programming language, it can be easily configured for the Avalanche network and used on its DApps.
How To Set Up Metamask Wallet For Avalanche Network
1. Install the MetaMask Google Chrome or Mozilla Firefox Browser Extension.
2. Open it, Create a wallet, and write down the recovery phrase.
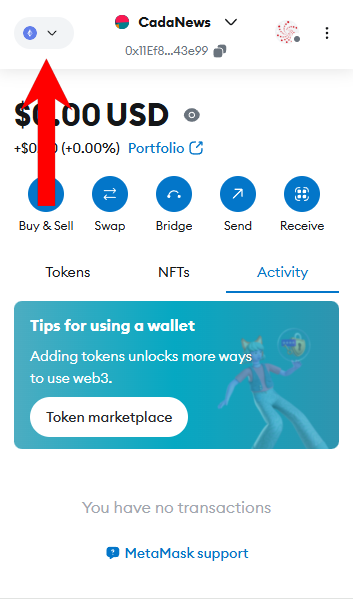
4. Click on the Networks icon in the top left.
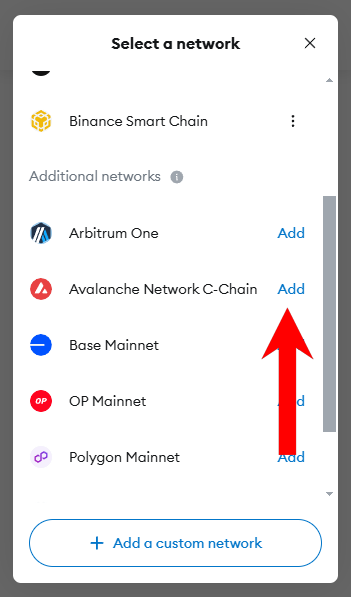
5. Click Add next to the Avalanche Network C-Chain, and Approve.
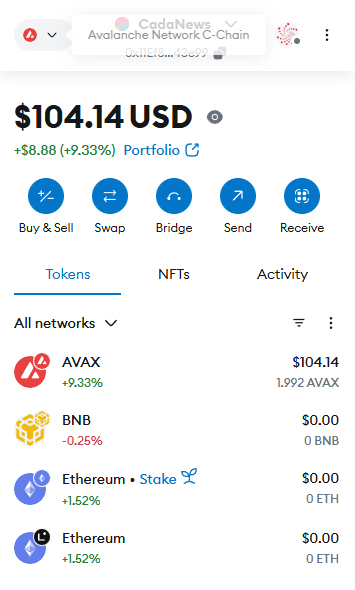
6. That’s it!
IMPORTANT: Always send AVAX or Avalanche tokens using the AVAX C-Chain to this address, because Avalanche has 3 chains.
The best way to secure your $AVAX, Avalanche tokens, and 5500+ other cryptocurrencies is to use the Ledger Nano X hardware wallet. It connects easily to Core and MetaMask wallets.
You can also check our 5 Best Avalanche Wallets article!


