Welcome to our CoolWallet Pro review for 2025, where we explore one of the most innovative and stylish hardware wallets available today. Designed to resemble a credit card, the CoolWallet Pro combines portability with robust security features, making it a top choice for managing and safeguarding your cryptocurrency.
With encrypted Bluetooth connectivity, EAL 6+ Certified Secure Element, and seamless integration with DeFi platforms, the CoolWallet Pro is packed with features that cater to both casual and advanced crypto users. In this review, we’ll dive into its setup process, supported coins, unique functionalities, and why it stands out in the competitive hardware wallet market.
What’s in the Box?
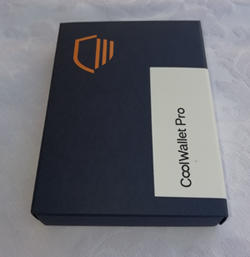
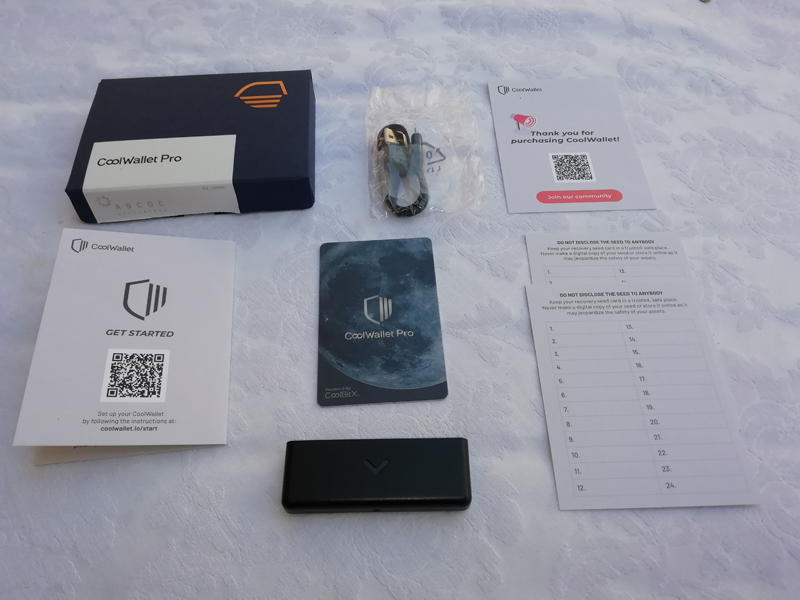
The CoolWallet Pro comes packaged in a sleek, compact box that reflects its modern design. Inside, you’ll find everything you need to get started: the hardware wallet, a charging dock, a USB cable, two recovery seed cards, and a user manual. The manual includes a QR code for downloading the CoolBitX app, which is compatible with both Android and iOS devices.
The setup process begins with downloading the app, which I easily found on the Play Store for my Android device. The user experience is seamless, and the design reflects the wallet’s commitment to blending innovation with simplicity.
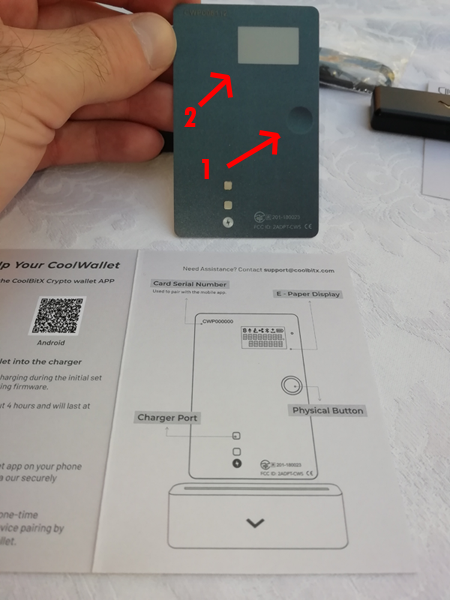
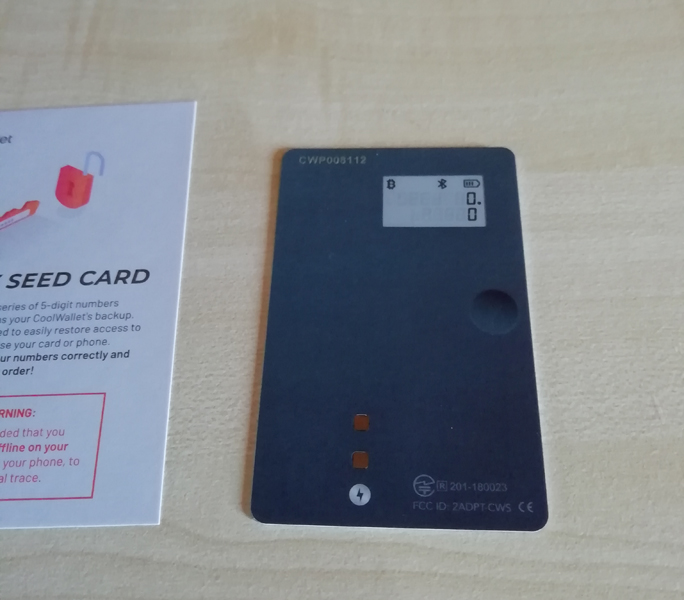
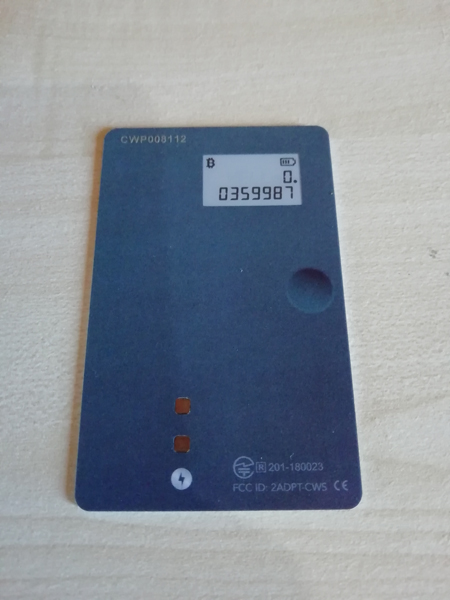
1 – This is the only Button you use to switch between currencies and confirm the transactions. Please don’t be shy about pressing it until you hear the click!
2 – This is the CoolWallet Pro Screen
Setting Up The CoolWallet Pro
Download the CoolWallet app for your iOS or Android device.
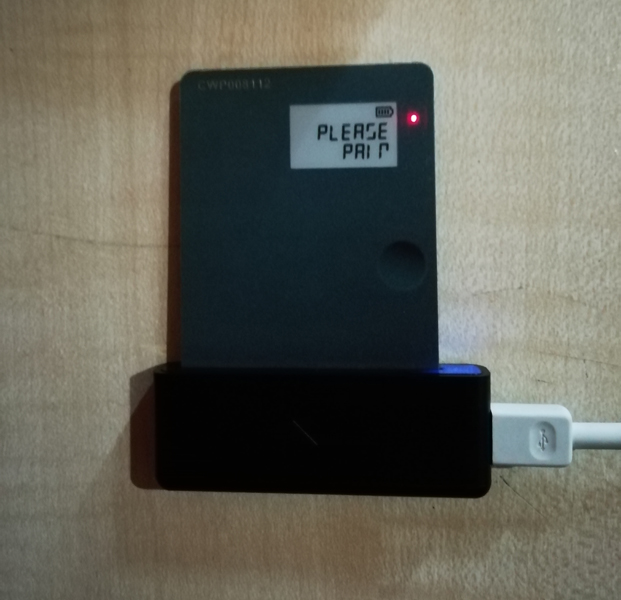
Getting started with the CoolWallet Pro is straightforward. First, charge the wallet using the included charging dock and USB cable. It’s recommended to charge it fully before proceeding—approximately four hours for a complete charge. Once ready, turn on the wallet by pressing its single button and enable Bluetooth on your mobile device.
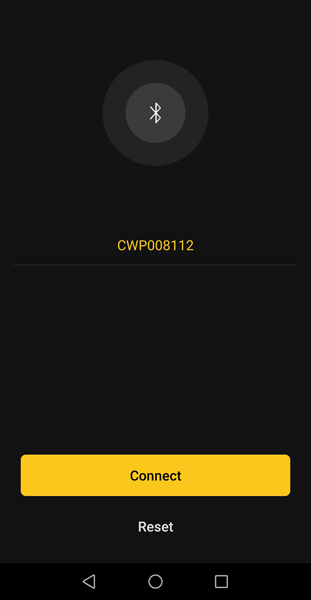
After you enter the CoolBitX app, it will recognize the device automatically.
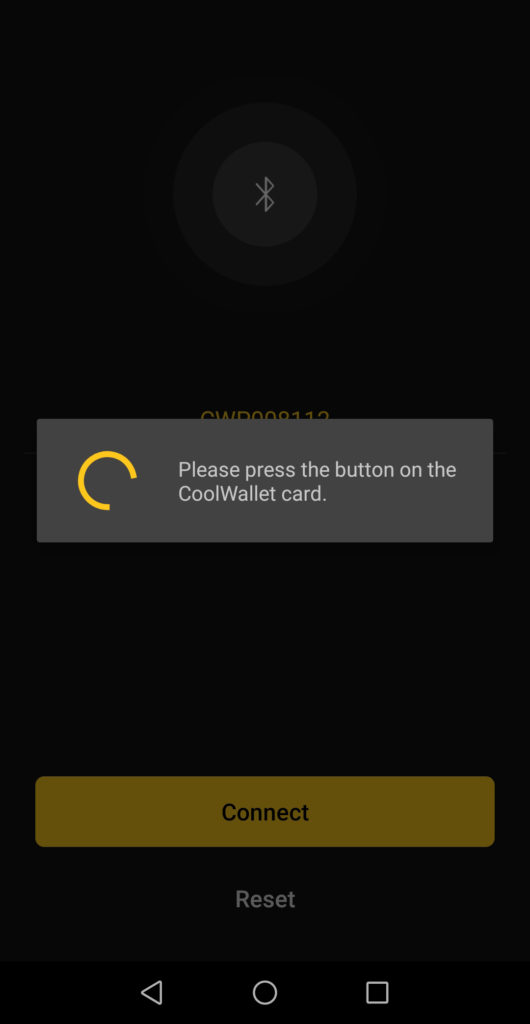
Click Connect.
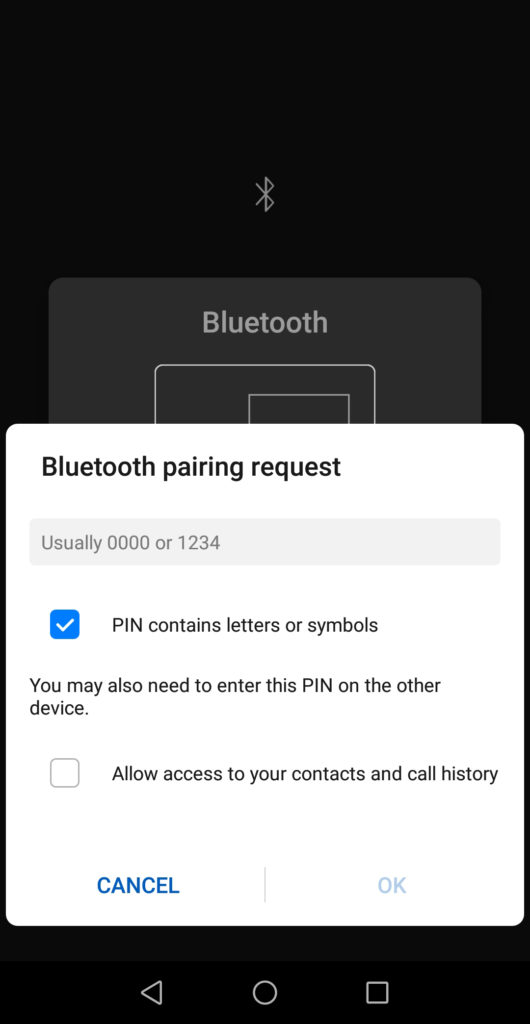
You enter the pairing password.
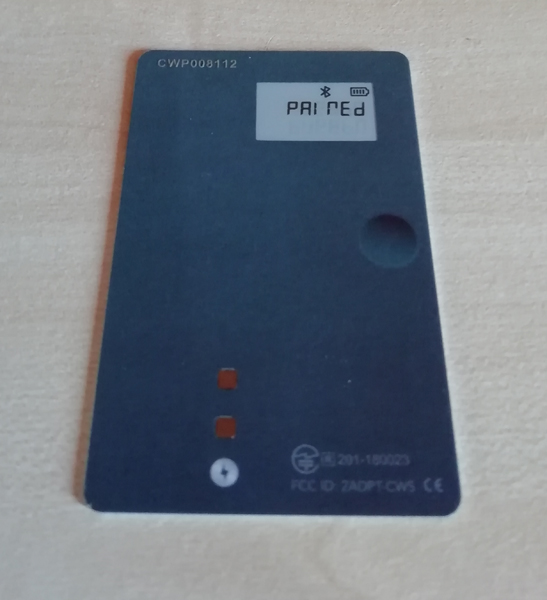
Confirm on the device.
And it’s done!
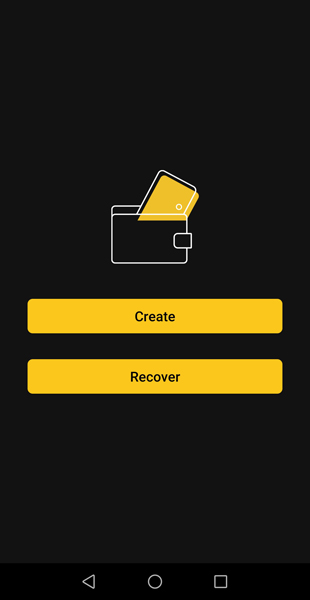
On the app, click Create to create a new wallet.
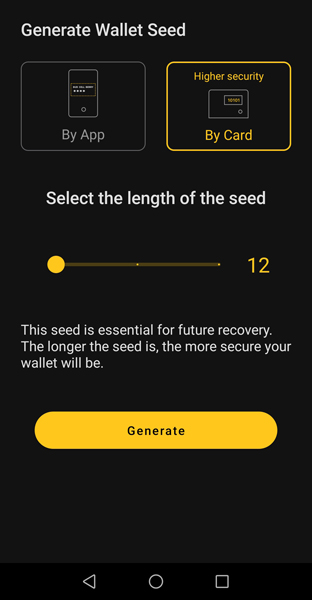
You then generate a recovery seed for your wallet. I advise using “Higher security By Card“.
It will be shown on your hardware device. You write a string of 12 figures of five numbers on your recovery seed sheet and keep it in a safe place. It’s used to recover your wallet and never share it with anyone.
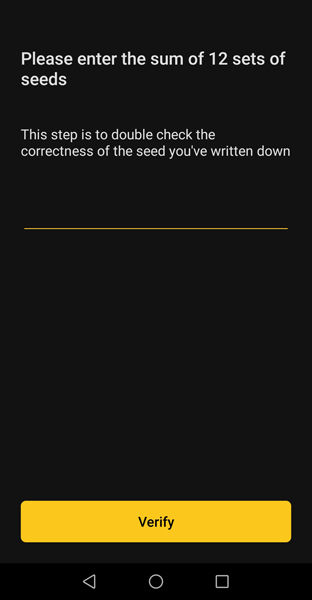
This is the interesting part cause we selected the higher security by card option, which is a safety measure, and why I am doing a full setup presentation cause some might get confused right here. You now use the calculator and SUM all 12 – five figures numbers of your recovery seed and enter it.
Done.
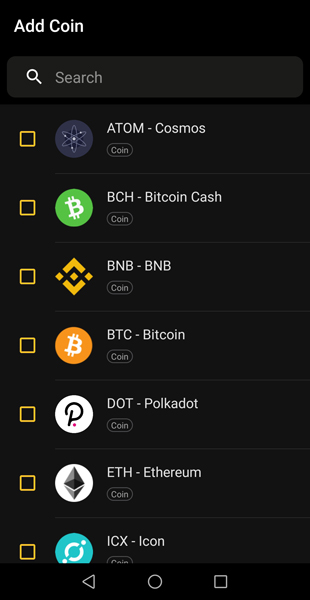
You can now add wallets for the coins you want to use!
CoolWallet Pro: Supported Coins and Tokens
The CoolWallet Pro supports a wide range of cryptocurrencies, including:
- Bitcoin (BTC)
- Ethereum (ETH) and all ERC20 tokens
- Solana
- DOGE
- Cardano
- Bitcoin Cash (BCH)
- BNB (Binance Coin)
- Polkadot (DOT)
- Tron (TRX) and TRX tokens
- Stellar (XLM)
- Ripple (XRP)
- Litecoin (LTC)
- Cosmos (ATOM)
- Aptos
- and more!
Additionally, you can manually add custom ERC20 tokens by providing their token address on the Ethereum blockchain, giving you flexibility to manage a wider range of assets.
CoolWallet Pro Security Features
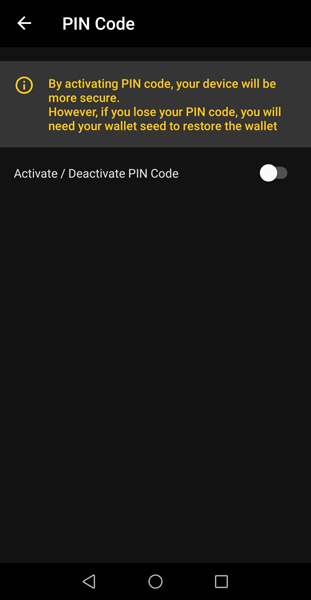
In the CoolWallet app, in the settings, turn on and choose the 6-digit PIN Code.
You will use it to unlock the app every time.
Every transaction with the CoolWallet Pro is highly secure. To confirm a transaction, you use the fingerprint sensor on your mobile device, followed by verifying it on the CoolWallet Pro hardware wallet itself. The transaction is then signed internally using your private key, ensuring it remains secure before being sent.
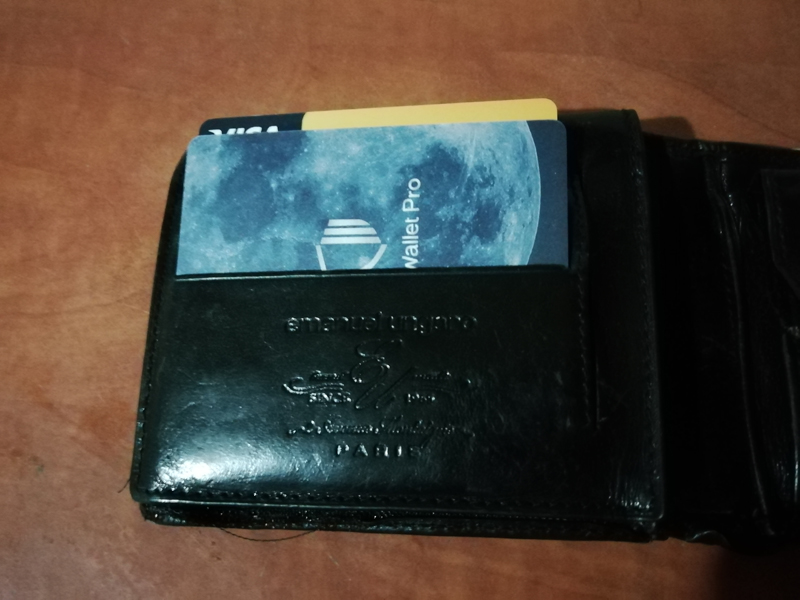
While many might hesitate, I personally topped up my CoolWallet Pro with some funds and comfortably carry it in my wallet. Of course, my recovery seed is safely stored in a secure location, giving me peace of mind.
I have also enabled my CoolWallet Pro to show my Bitcoin Cash Balance on the screen in the CoolBitX settings. Read below how I transferred it for a start.
CoolWallet Pro – Receiving and Sending Cryptocurrency
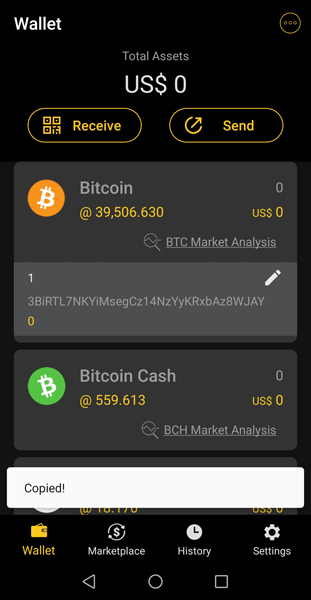
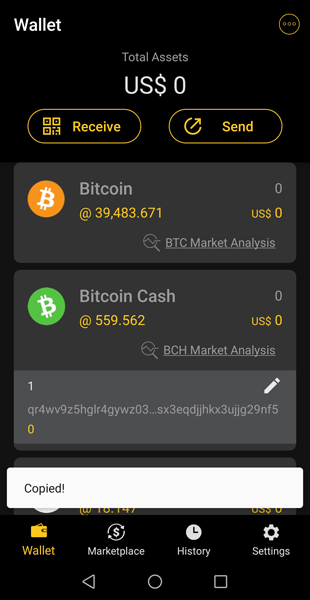
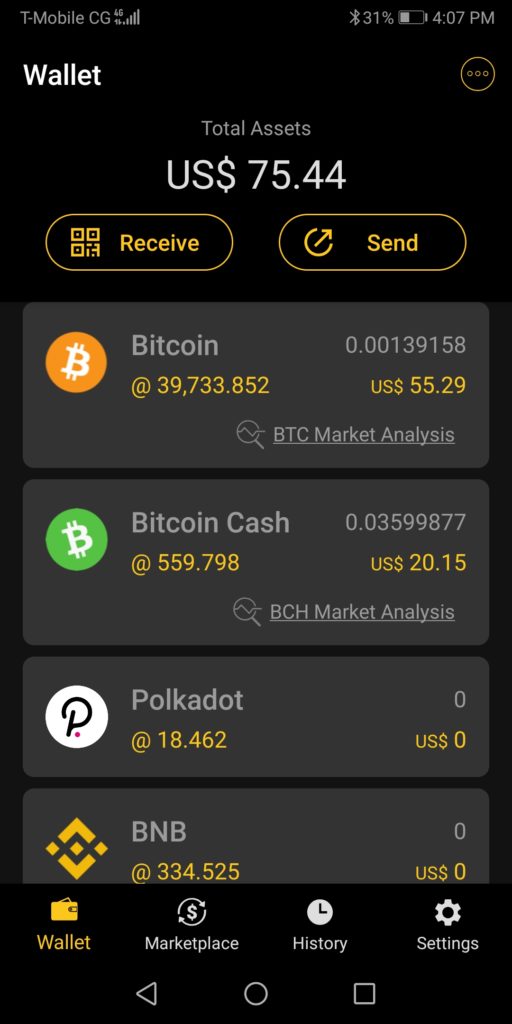
I am going to copy the addresses and send some Bitcoin and Bitcoin Cash to my BTC and BCH wallets.
And I have received the coins.
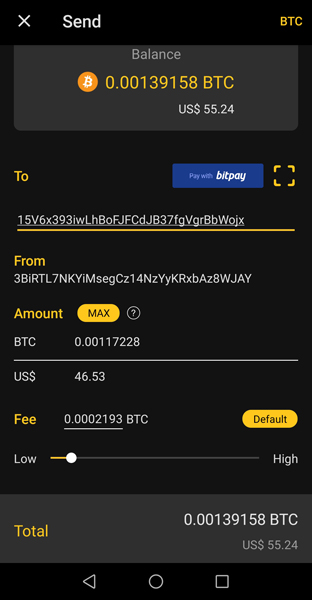
In order to send your cryptocurrency you will have to sign the transaction using the hardware wallet of course. Let’s send the Bitcoin.
You can set your custom transaction fee or use the default one.
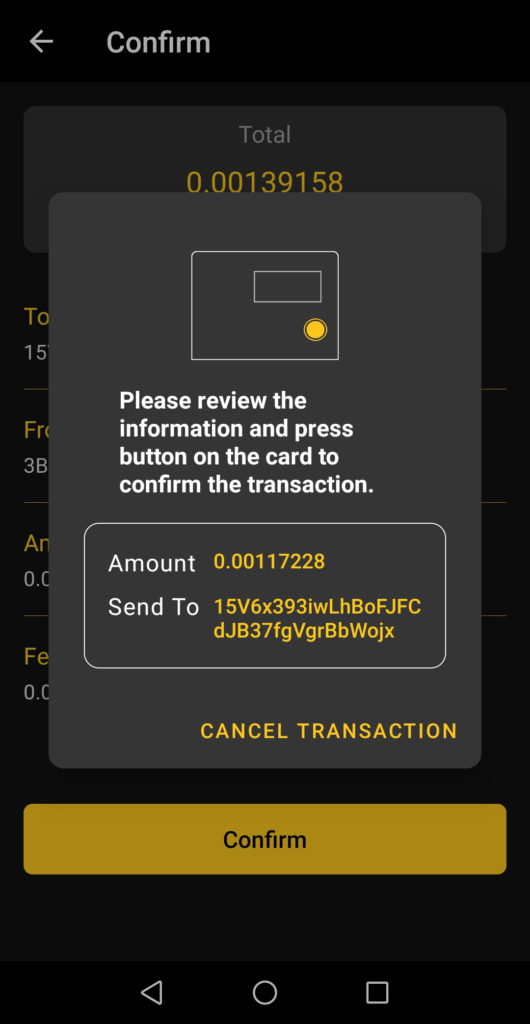
You can now confirm it using your Cool Wallet Pro device by checking the address and amount and releasing the transaction.
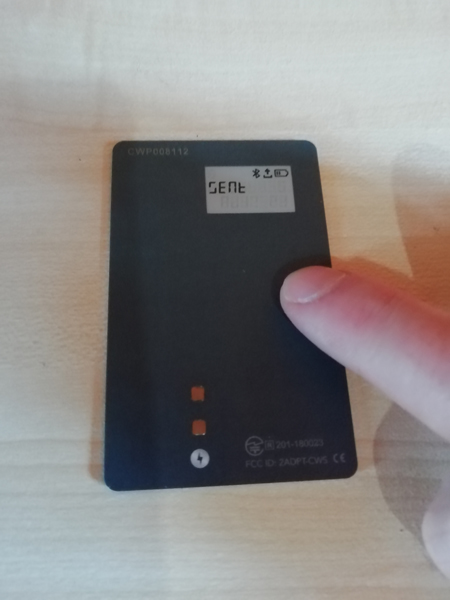
And sent.
You can see all transactions in your CoolBitX app transactions history like the one we just made. I have set some higher transaction fees so it will arrive fast in my other wallet.
CoolWallet Pro – Cryptocurrency Exchange
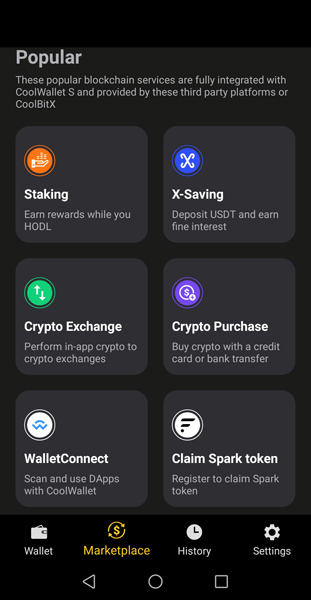
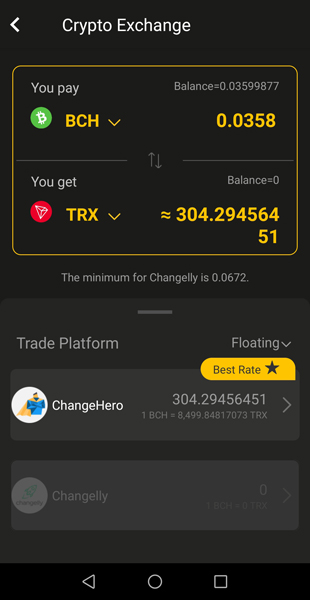
The CoolBitX app includes a built-in fast exchange feature with competitive low fees, allowing you to seamlessly exchange supported cryptocurrencies, coins, and tokens directly within the app. This feature adds convenience for users looking to trade their assets quickly and securely without leaving the app’s secure environment.
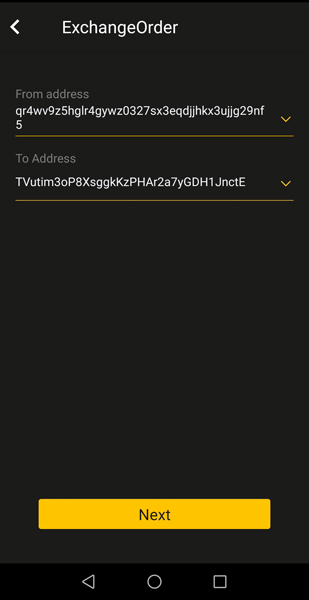
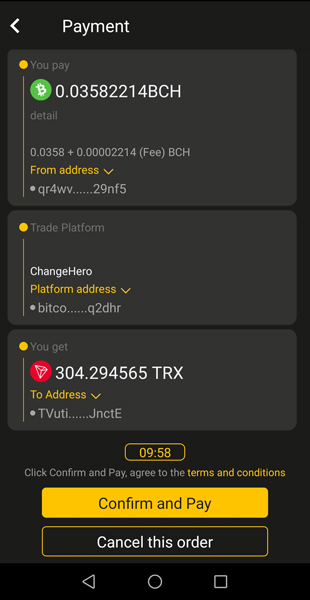
Let’s exchange Bitcoin Cash (BCH) for Tron (TRX) cryptocurrency.
Click confirm and pay.
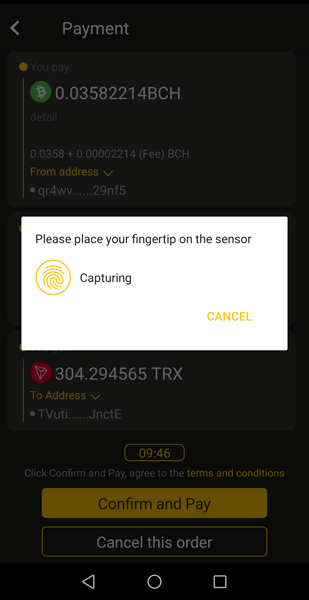
You can confirm this by using the fingerprint on your mobile device sensor.
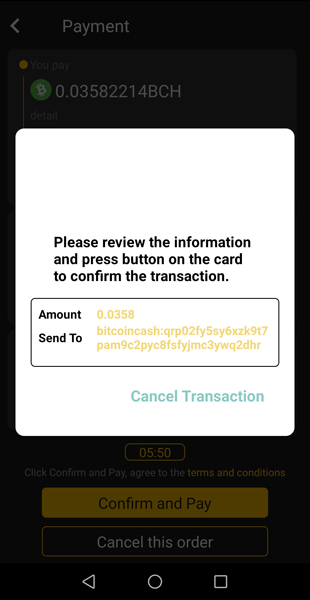
And then on your hardware wallet device, of course. This is no different than any other transaction.
Done.
CoolWallet Pro – Cold Staking
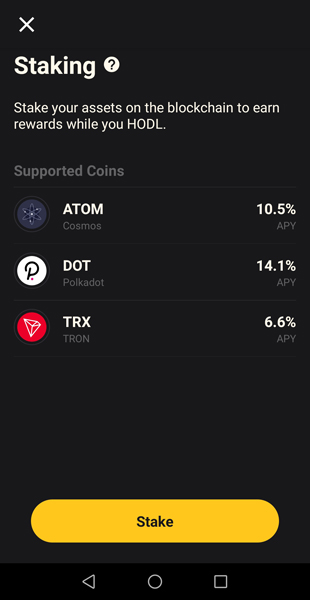
You can safely stake (so-called cold staking) cryptocurrencies such as Solana, Polkadot, and Tron.
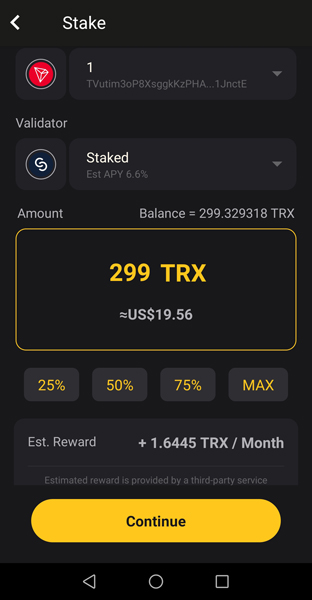
Let’s stake Tron since we’ve got some with the previous exchange. We’ll stake the total amount. Click Stake.
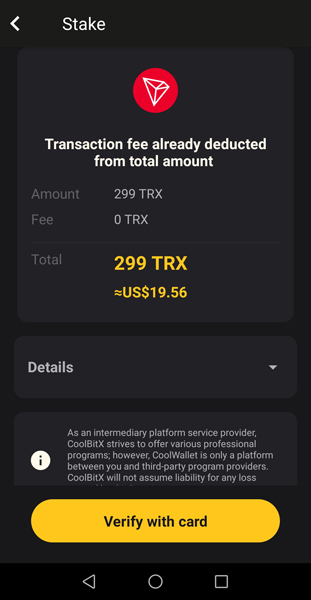
Click Continue.
Now verify the transaction on your CoolWallet Pro hardware device.
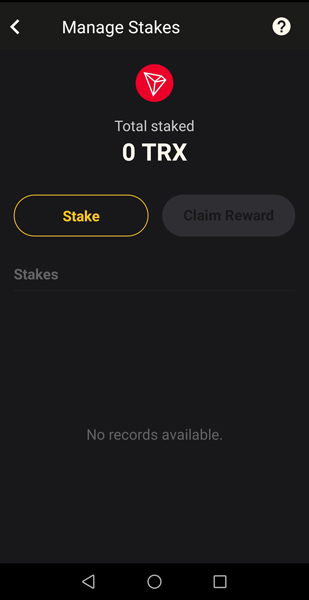
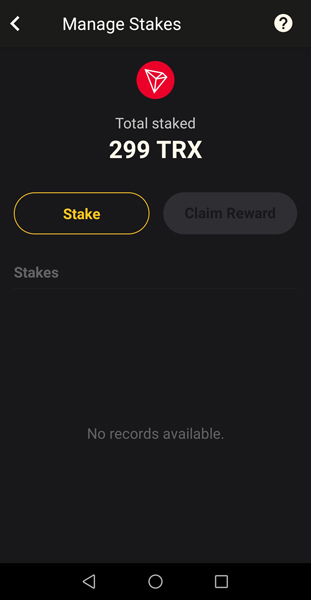
And done. You can see and manage stakes anytime using the staking tab on your app.
Use CoolWallet Pro on Ethereum DeFi platforms
The CoolWallet Pro is fully compatible with MyEtherWallet, enabling you to perform all Ethereum-related functions directly on your mobile device. Additionally, with WalletConnect, you can seamlessly connect your CoolWallet Pro to any Ethereum-based decentralized application (DApp), providing access to a wide range of DeFi platforms and services.
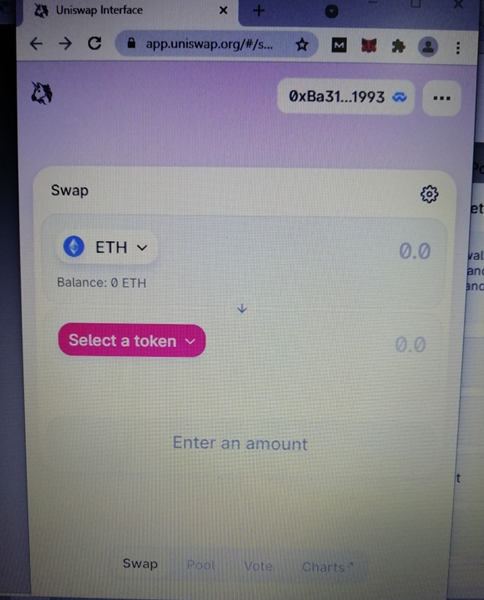
We will use the popular Uniswap DeFi (decentralized financing) protocol for this showcase.
Go to the Uniswap website. Click Connect to a Wallet and choose WalletConnect.
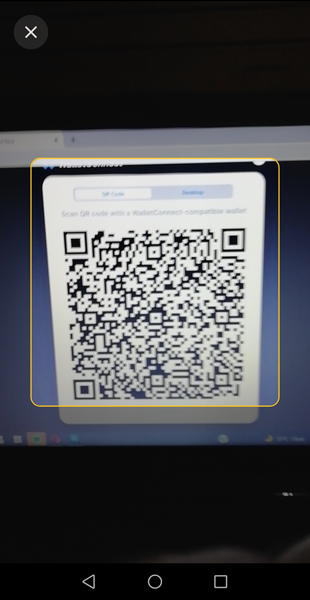
In The CoolBitX app, tap the WalletConnect tab and scan the QR code presented.
Your CoolWallet Ethereum address will now appear in the top-right corner of the connected application. From here, you can securely manage your crypto activities—whether it’s swapping, staking, or earning more on your investments—all with the confidence of knowing your assets are protected.
Other CoolWallet Pro Features
With the CoolWallet Pro, you can not only stake and exchange cryptocurrencies or connect to DApps but also enjoy additional features such as depositing USDT to earn high returns, buying cryptocurrency directly through the app, and participating in airdrops for even more rewards.
Conclusion
Having tried several hardware wallets, the CoolWallet Pro stands out as an exceptional choice in the market. While its sleek, credit card-like design initially caught my attention, its functionality, security, and innovative features truly set it apart. The development team has done an outstanding job, consistently updating the firmware and adding features that align with evolving cryptocurrency trends.
For $149.00, the CoolWallet Pro offers excellent value for its robust security and advanced capabilities. Whether you’re a casual investor or an active DeFi participant, the CoolWallet Pro delivers a seamless and secure experience. It’s a wallet that not only protects your assets but also keeps you ahead in the ever-changing world of crypto.
Use the discount code ‘CadaNews’ to enjoy 5% OFF on all purchases in the CoolWallet store.

